Need a simple tutorial to guide you through taking a screenshot (print screen) of your device? The procedure varies from platform to platform, so we've put together a tutorial for Windows, macOS and the mobile device operating systems Android and iOS. See for yourself that it is not complicated at all. Let's do it.
Taking a screenshot is one of the most basic skills and every user should be able to do it with a little help. There are a number of specialised programs for taking a screenshot. However, we can do with the built-in tools.
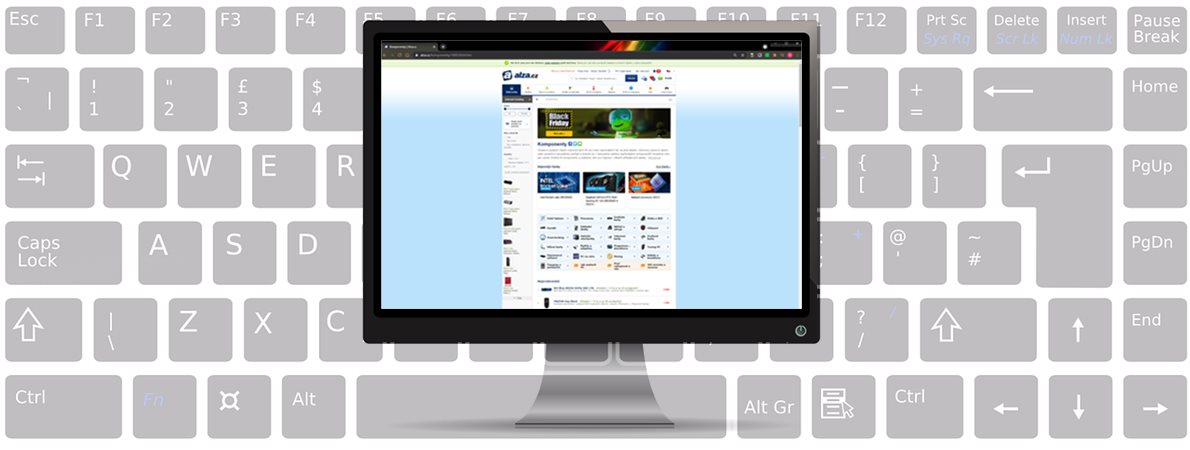
For more experienced users, taking screenshots is such a common activity that they do it without much thought. It's even more interesting to watch someone who doesn't have as much computer experience. Such a user logically presses the PrintScreen button directly on the keyboard and then inserts the screenshot into Paint using the notorious Ctrl + V shortcut. However, the resulting file is often unnecessarily large and difficult to work with. Let's take a look at how to take a screenshot correctly.
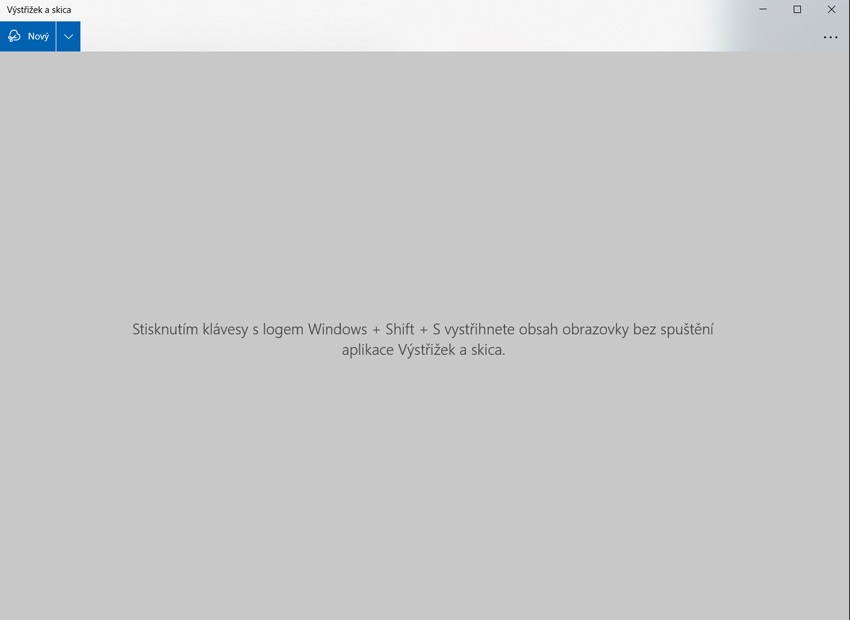
The modern operating system Microsoft Windows 10 has a built-in tool called Snip and Sketch. Simply type the word "snip" into the search box in the Start menu. You'll see the app immediately and you can click it with your mouse to open it. Press the New button to launch the snip function with the snip panel.
i
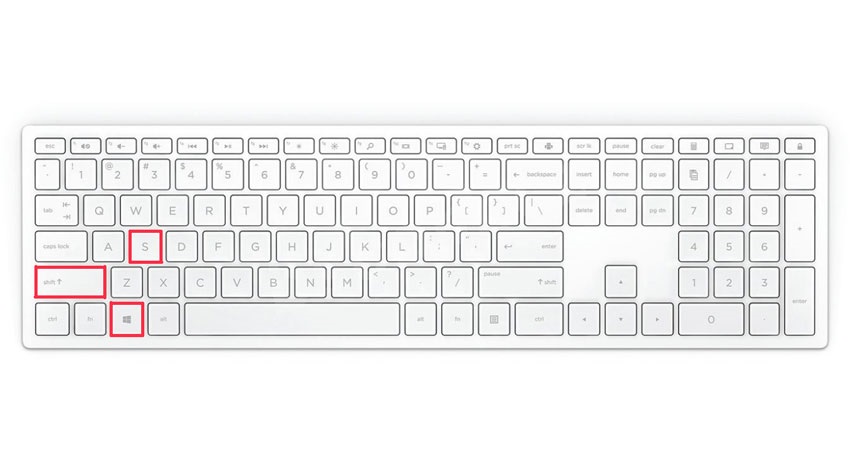
Remember the keyboard shortcut Win + Left Shift + S, which will start the print screen process on Windows 10 right away.
Select the desired shape and drag the mouse cursor to capture the desired object on the desktop. The snip will be automatically saved to the clipboard, so just open your email (or anything else, e.g. Messenger) and use Ctrl + V to paste the screenshot into a message. Yes, that's how easy it is to create a screenshot in Windows 10.
You can snip using the following shapes:
If you're still using Microsoft Windows 7, you can easily take a screenshot, too. The Snip app is available. Just type the word "snip" into the search box in the Start menu and then start the application. Again, select New from the menu and drag the cursor over the error message window. The captured screenshot is immediately visible and can be edited further. For example, you can save it to any folder via the floppy disk button. The screenshot will also stay in the clipboard, so you can then use Ctrl + V to paste it into any app you need.
For a typical macOS user, taking a screenshot is nothing too complicated. However, even within this platform, there are many new users who simply do not know their way around the system. And yet it's so easy.
A very basic tool for taking screenshots is the Shift + Command + 5 keyboard shortcut, which brings up a special toolbar called Screenshot. Alternatively, the same function can be called via Finder -> Applications -> Utility. This is a kind of hub for working with screenshots.
i
If you are a macOS user, remember the important keyboard shortcut Shift + Command + 5.
Just select the desired mode and click Capture. You will then see the captured image as a thumbnail in the bottom right corner. This can be edited further and simply dragged into an email, presentation or Finder..

On MacBook, the full-screen screenshot is hidden under the Shift + Command + 3 shortcut.
Of the options offered, we want to highlight the option of recording. This makes it easy to create a moving GIF file that displays the desired content in a more visual way.
The macOS operating system automatically saves all newly created screenshots to the desktop in PNG.
If saving screenshots to your desktop doesn't suit you, you can easily change this. Use the Shift + Command + 5 keyboard shortcut to display options for taking screenshots. And, in addition to setting the timer, you can manually select the location of the screenshot - Desktop/Documents/Folder/Mail/Messages/Thumbnail or Other location. Selecting Other Location will then create a custom folder to store your next screenshots.
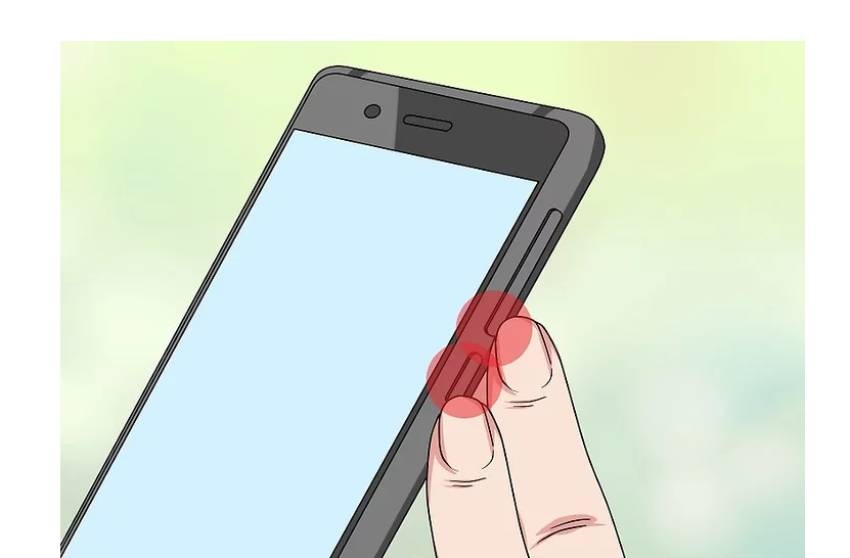
The plethora of Android phones have something in common. And that's their ability to take a screenshot using the tried-and-tested double tap. Just press the volume down button and the lock button. At that point, a thumbnail with a preview will appear, which you can open right away and either edit it or share it to other apps.
However, if you have an old smartphone with a physical home button, which is quite a rare case nowadays, press the home button and the lock button at the same time.
i
Most Android devices feature the Volume down + on/off button double tap..
If you have an old smartphone with a physical home button, which is quite a rare case nowadays, press the home button and the lock button at the same time.
Some modern phones are equipped with a multi-functional user interface that supports interesting gestures. However, these gestures are not unified in any way and are often unfortunately too creative to be intuitive. For example, you can use a three-finger hold or swipe to take a screenshot. As part of Samsung's graphical extension, you can use the back of your hand to swipe the display to create a screenshot. You can find out more about the individual features directly in the phone's settings, where you can assign individual functions to gestures.
A special system button for screenshots is included in a number of devices. Where can you find it? If it is available on your phone, it will be located in the top pull-down screen.
You can see that almost every phone provides you with three different ways to take a screenshot. That's why we can't recommend installing a separate app. Very often, such apps require unnecessarily high permissions, which can violate your privacy.
The opposite of the Android platform is, of course, iOS running on iPhones. Taking a screenshot is therefore a completely standardised action, which is performed by simultaneously pressing the side button and the volume up button. This applies to devices with Face ID unlocking. After taking a screenshot, a thumbnail of the screenshot will briefly appear in the bottom-left corner of the screen for you to edit. You can also find the screenshot in the Photos app. Tap the thumbnail to open the screenshot or swipe left to close the thumbnail.

You may own an older iPhone with the iconic Home button under the display. These devices require you to press the side button and the Home button at the same time.
i
Since the iPhone X, the side button + volume up button are used for screenshots.
Modern operating systems are very well equipped to take screenshots, but this has not always been the case. We have to admit that Microsoft has done a lot of work in this area and the vast majority of users have no need to install any additional external program. That might be why previously popular screenshot apps have been on the decline. However, if you work with screenshots on a regular basis, you'll find our tips on screenshot programs, which we have tested, useful.
We can safely recommend PicPick. It is a small free application with a variety of functions. You can easily create snapshots of a selected window, the whole screen or manually cut out a part of it. You can also capture, for example, a long web page that you have to scroll down to view.
To take screenshots with PicPick, you can use keyboard shortcuts or simply select the desired action from the menu. An important feature is the ability to define what happens to the screenshot you take. You can save each screenshot automatically to your desktop in a PNG file. However, you can direct each screenshot to a shared folder or an FTP server just as easily.

A significant competitive advantage of PicPick is the integrated editor. This means that you can not only take a screenshot, but also perform basic editing. For example, you can erase some sensitive data with an eraser, highlight a part of the image or insert various graphic indicators including text. The result can be uploaded to key social networks, cloud storage or emailed in a nice old-school way.
In the case of apps for macOS, we deliberated between several options, but in the end, we chose Lightshot. It is an overall clear and minimalistic tool for taking screenshots. Just use the cursor to select the area you want to capture. Immediately afterwards, a floating window appears with a menu of the most common actions. We were intrigued by the fact that it's basically one click away from sharing a captured image to prntscr.com, and within moments, you have a URL that you can easily share. There is also a simple editor to make basic edits to the screenshots you take.
You can see that taking a screenshot is not a difficult thing to do. Before sending a screenshot to someone, double-check that it doesn't contain any private information.
